Sample phase / Pixers per line
Sample phase
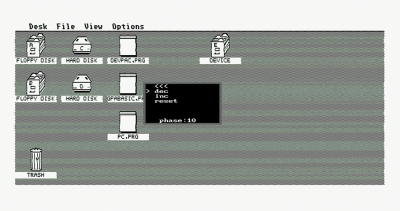
Example of sample phase set wrongly (click to zoom):
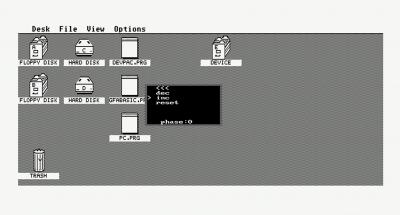
Example of sample phase set correctly (click to zoom):
Pixels per line
All recognised RGB modes should have this option set correctly in the firmware, but when your device is not recognised ("unknown PAL", "unknown NTSC", "unrecognised lo" or "unrecognised hi") then you should set correctly pixels per line. If you want me to add your device to the next Medusa firmware I will need this parameter together with fingerprint. I've prepared a couple of pictures to help setting this parameter correctly.
First try to fill your screen with "50%" checkboard pattern (desktop background setting or using any raster graphics program like Deluxe Paint)
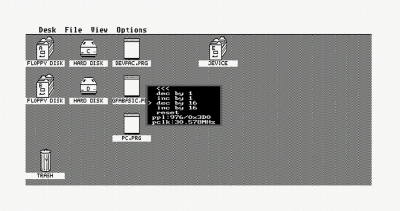
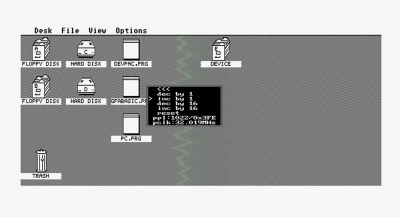
Example of pixels per line set too low (click to zoom):
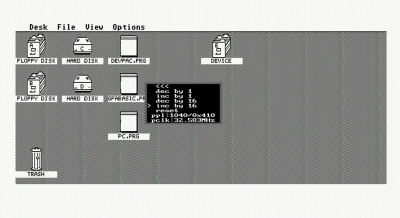
Example of pixels per line set too high (click to zoom):
As you can see in both cases there are vertical artifacts, but one can't say if it is too low or too high. Both cases looks similar. One way is to check hardware of your device and try to find master clock generator (in this case it is Atari ST with main clock of 32.084MHz). Your pixel clock (Pfreq) should be set to the same value (or its multiple). The other way is to increase or decrease this setting (using "dec by 16" and "inc by 16" at the beginning) and try to be as close as possible (as low vertical lines with artifacts as possible).
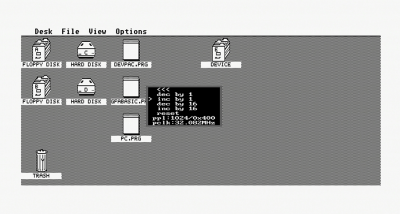
At some point you will have only a few artifacts. This is an example of a picture with one artifact only:
When you have achieved that, then try to change this value using only "dec by 1" and "inc by 1" - usually only even values will be correct. When the value is correct your picture should look like this:
